This project required us to design a real world object, a ring, that could be put on a finger. The ring had be scaled to fit the size of a finger, and to meet certain parameters for the prototype printer requirements (minimum thickness, for example). For the design of the ring we were encouraged to use only one shape from a limited list of options, simple shapes. We had to use at least three forms of the chosen shape, and we were to use modeling concept, using additive, subtractive and/or modifier stack, modeling procedures. We were required to apply a material for our renders, and we had to include at least one light for the render.
After playing around with the shape, I became intrigued by the pyramid shape and decided to use this shape for my ring. The pyramid shape proved to be a fun and dynamic shape to work with. A pyramid is a dynamic shape on its own, at one side the shape starts as a standard cube, completely morphing into something as far as you can get from a cube, to a singular pointy-point. I enjoyed playing with this shape and discovering how we could wrap a finger in this pointed drama.
Software used: 3DS Max
Image 1: Back
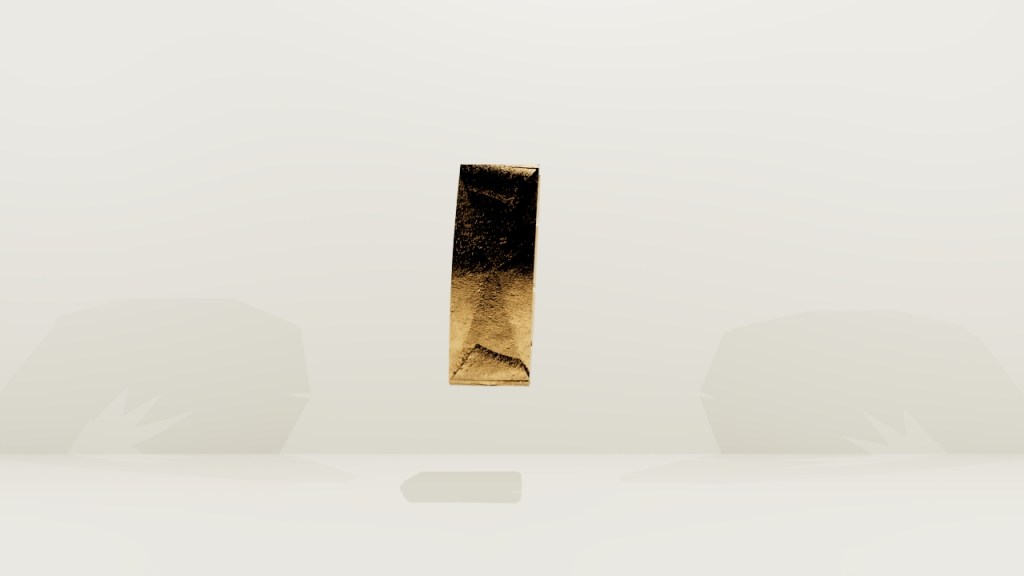
This view of the back, is the side of the ring that would be inside the hand. The ring is very large, this is very wide for wearing on the inside of the hand.
Image 2: Front
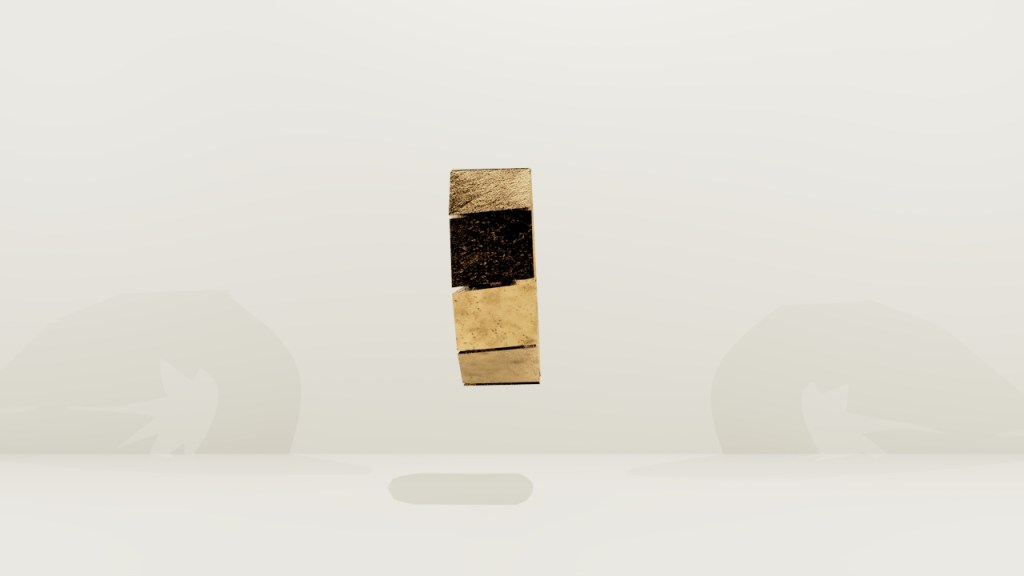
This is the view of the front, outside, or top of the ring. From these two vantage points, there does not seem to be anything interesting about this band. Upon closer inspection, you can see there are pieces along the top, those are the pyramid bases.
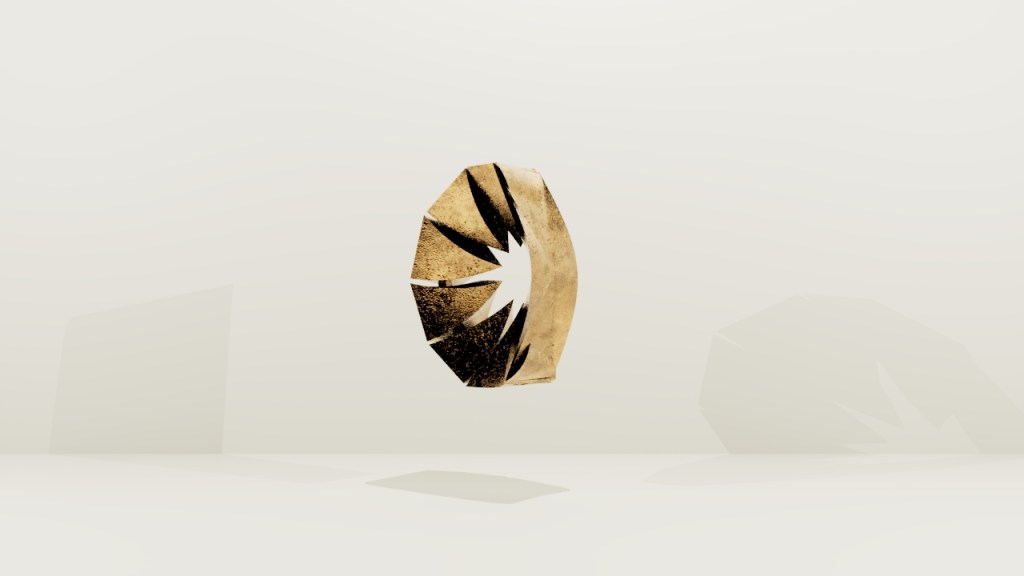
Image 3: Side through angle
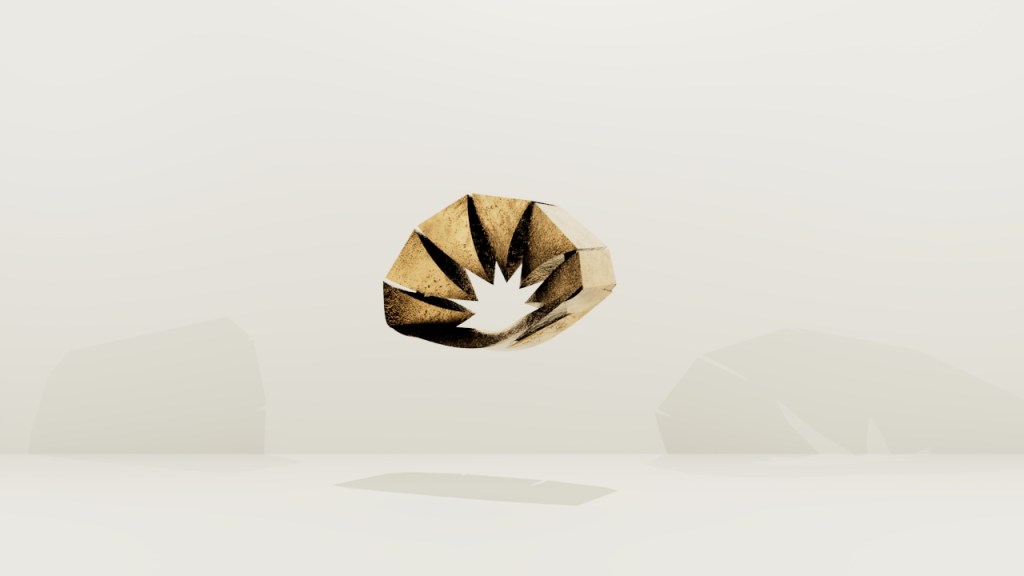
From this side through angle, the drama is revealed. You can see that the points of the pyramid tops come together and rest on the finger and those points are what is resting on the finger, instead of a smooth band.
Image 4: Back side angle
Offering another view to gain insight into how the pyramids are actually fluid themselves, they are not straight forward. They move, and twist and curve and seem to have energy of their own.
Image 5: Through angle
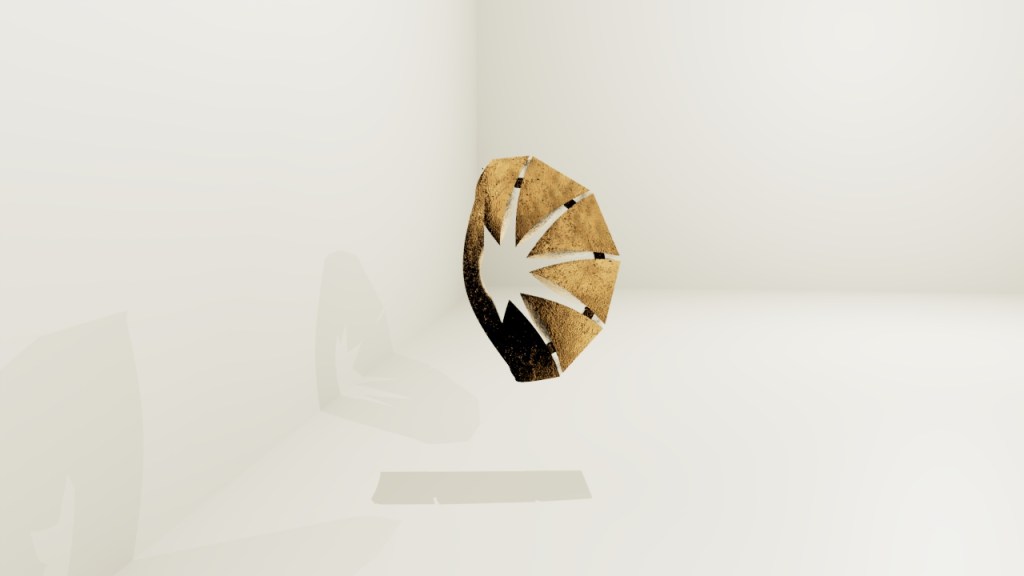
A view straight through. You can see how the base would hug the finger and the points would make just enough contact to keep the ring in place.
Image 6: Top through angle
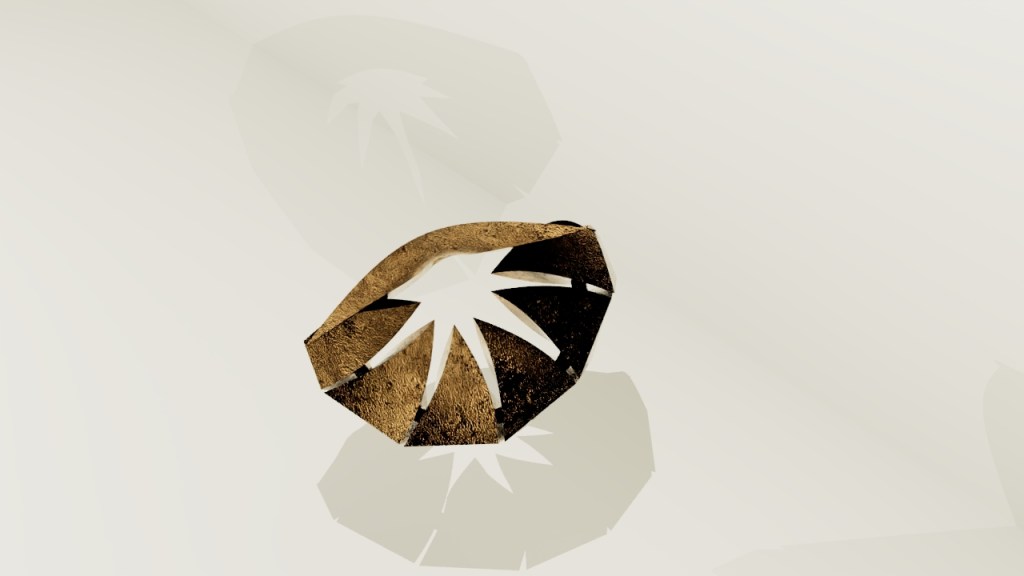
One last view to allow the light to play with the shape and demonstrate the ins, outs, ups, and downs of this piece.
